Installation and Keeping Your Sink Clean and Fresh
Having a well-maintained and clean kitchen sink is essential for any homeowner. It's where you prepare your food, clean your dishes, and wash your hands. However, over time, your kitchen sink may develop unpleasant odors and stains that can be difficult to remove.Steps On How To Install A Kitchen Sink:
Installing a kitchen sink is a project that can breathe new life into an outdated or damaged kitchen. With the right tools and materials, the installation process is relatively straightforward. Follow these steps to ensure a successful installation:
Materials and Tools:
Before you start, gather together the following materials and tools:
- A new sink
- Silicone sealant
- Plumber's putty
- Screwdriver
- Adjustable wrench
- Pliers
- Bucket
- Towels or rags
Preparation:
Begin by turning off the water supply and disconnecting the drain and water lines. This will prevent any leaks or water damage during the installation process.
Removing Old Fixtures:
Remove the old sink, faucet, and drain assembly. Depending on the age of your current setup, this may require a little elbow grease. Use a combination of pliers, screwdrivers, and a wrench to loosen and remove any bolts or fasteners.
Measuring:
Take measurements of the width and depth of the sink opening to make sure the new sink will fit correctly. Ensure you also note the measurement of the new sink to make sure it is a good fit for your space.
Choosing a New Sink:
When choosing a new sink, consider your lifestyle and kitchen needs. Think about if you want a single or double basin sink, the size and style of the sink, as well as the material it is made from. Ensure the sink you choose fits your style and needs.
Installation:
Place the new sink into the opening and adjust it to ensure a tight fit. Ensure it's level and centered within the hole.
Placement:
Apply plumber's putty to the bottom of the sink's flange to create a watertight seal. Place the sink into the opening and press down gently to secure it in place.
Securing with Silicone Sealant:
Seal around the edges of the sink with silicone sealant to prevent leaks and water damage. Ensure you focus your sealant on corners and areas of overlap.
Connecting The Pipes:
Reconnect the drain and water lines. Tighten connections using a wrench to ensure they are secure.
Final Check:
Turn on the water supply to check for leaks. Ensure you check beneath the sink with a bucket to ensure there are no leaks from underneath.
Cleanup:
Clean off any excess putty or sealant using a clean cloth.

Tips To Get Rid Of Smells And Stains
Eliminating sink smells and stains is essential to maintaining a clean and healthy kitchen. Here are some expert tips to help you get rid of smells and stains from your sink: Clean The Sink Regularly:
Cleaning your sink with soap and water after each use is crucial to preventing build-up and keeping your sink clean.
Use Baking Soda And Vinegar Or Dish Soap, Lemon Juice, Hydrogen Peroxide:
Mixing baking soda and vinegar or using dish soap, lemon juice, or hydrogen peroxide can be an effective method for removing stains and odors from your sink.
Boiling Water:
Pouring boiling water down the drain is an easy and safe way to remove any build-up and prevent clogging.
Use A Garbage Disposal:
Using a garbage disposal to grind up food waste can help prevent clogging and eliminate smells.
Clean The Disposal:
Cleaning your garbage disposal regularly with baking soda and vinegar or a disposal cleaner is essential to preventing odors and keeping the disposal working efficiently.
Use A Sink Strainer:
Using a sink strainer to prevent food waste from going down the drain can help prevent clogs and eliminate smells.
Install A Sink Strainer:
Installing a sink strainer prevents food waste from clogging your drain and keeps your sink clean.
Clean The Sink Strainer Regularly:
Cleaning the sink strainer regularly can help prevent build-up and keep your sink smelling fresh.
Replace The Sink Strainer:
Replacing the sink strainer when it becomes worn or damaged is essential to prevent clogs and maintain a clean sink.
Disinfecting With Essential Oils:
Using essential oils to disinfect your sink can provide a pleasant scent while keeping your sink clean and germ-free.
Frequently Asked Question:
What makes a kitchen sink good quality?
For a tough, sturdy sink, aim for 16 to 18 gauge (the measure of thickness) steel. Also check the series number, which pertains to how the steel was manufactured and whether or not it's magnetic; 300 series stainless steel is not magnetic and so favored for structural products, like kitchen sinks.
How deep should a kitchen sink be?
The standard depth is around 8 to 10 inches. Anything shallower than 8 inches will make it difficult for you to have enough space to wash dishes. The extra depth can make it easier to wash oversize pots, which is helpful for anyone cooking for a big family or entertaining guests.
What is the difference between a top-mount and undermount sink?
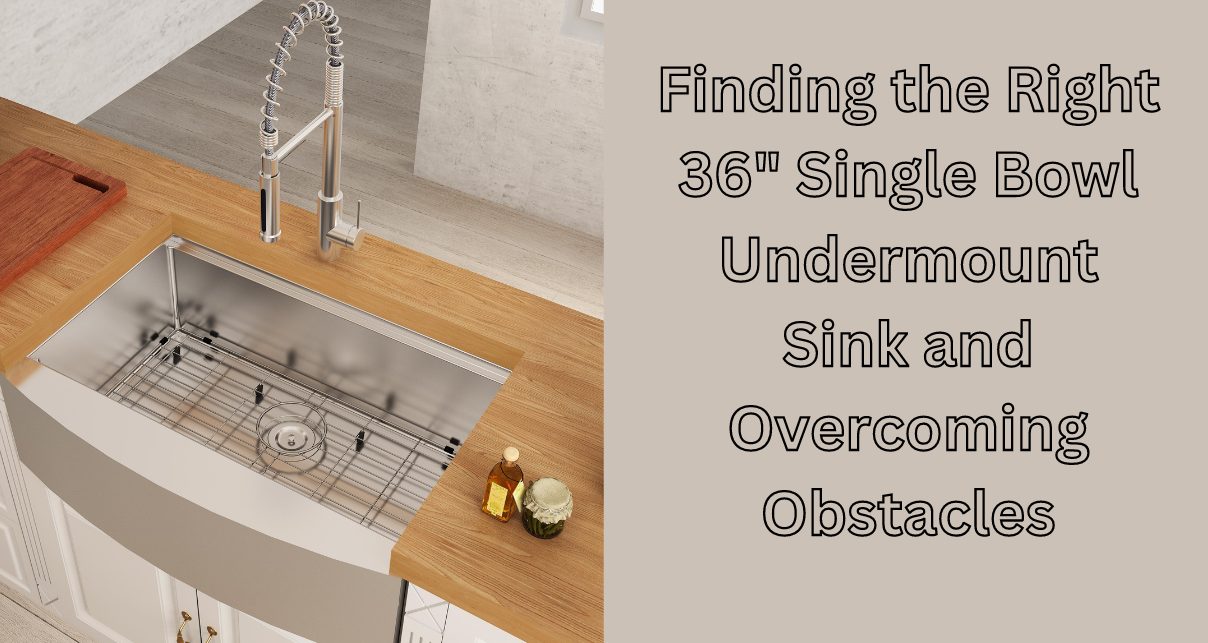
A top-mount sink is installed on top of the countertop, with the edges resting on the surface. An undermount sink is installed underneath the countertop, with the edges hidden. Undermount sinks provide a cleaner look and are easier to clean, but require a strong countertop material to support the weight. Top-mount sinks are easier to install and replace, but can be harder to clean around the edges.
Does a kitchen sink need support?
In proper undermount sink installation with epoxy, clips and brackets, there's usually no need for additional support. The attachment methods should securely support the weight of the sink, both empty and with water and dishes in it.
How do I maintain my kitchen sink?
You can use a mild soap and nylon sponge or soft rag to wipe your sink down for daily cleaning. You may also use an All-purpose or glass cleaner in a pinch. However, it is crucial that you avoid ammonia, bleach, or rough, abrasive cleaners on stainless steel sinks. You should also avoid using abrasive sponges. At Tecasa, we pride ourselves on providing high-quality kitchen sinks and accessories that make cooking and cleaning a breeze. By following these steps and tips, you can ensure that your kitchen sink is properly installed and maintained for optimal performance.
I hope this article on the steps to install a kitchen sink and tips to get rid of smells and stains has been helpful. At Tecasa, we understand the importance of having a functional and clean kitchen sink, which is why we offer high-quality sink products and accessories. We want to ensure our customers have the knowledge and tools they need to properly install and maintain their kitchen sinks, and we hope this article has provided valuable insights. Thank you for considering Tecasa for your kitchen sink needs.


